top of page

Encapsulated silicone
What is encapsulated silicone?
The external envelope that encases the silicone prosthetic. The encapsulator is composed of a urethane bald cap material such as, Baldiez or PS Cap Plastic. This allows the edge of the prosthetic appliance to be melted away with a solvent such as, acetone or IPA.
-
Can represent skin texture well - can be softened and pigmented - saves time
-
Can blend edges away easily
-
Good for high budget films and HD lens
-
Continuity
-
Expensive - especially if you waste product
-
Can mark furnishings and fittings
-
Difficult to clean and handle
-
Takes time to set
-
Cap plastic fumes can be uncomfortable for some models
Advantages
Disadvantages
Dickey, L. (2019) Encapsulated silicone appliances. Available at: https://docs.google.com/presentation/d/1wK1snrtAF8IVYK9SfzCZLQxKAPFRAeEA9xgbL94wzm4/edit#slide=id.g3fbd3cca35_0_5 (Accessed: 14/03/19)
Industry references
When thinking about the disadvantages of silicone, one of the main points is cost. I have found from industry professionals, a cheaper, but still effective, alternative when it comes to making encapsulated silicone moulds.
What did they find?
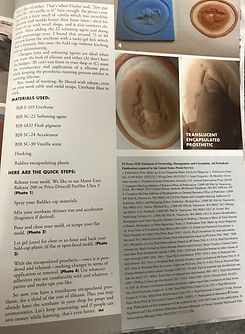
Urethanes - they are rubbers already found in special effects props, animatronic skins and large creations.
Urethanes are translucent, can be softened and can be encapsulated. Using F-105 urethane and SC-22 softening agent, they were able to get soft urethane that can be encapsulated with in bald cap material. It can be easily tinted and flocked to create lifelike skin tones.
By adding some SC-24 urethane accelerator, the cure time was under an hour.
They added a vanilla scent to allow it to smell sweeter and comfort the actors.
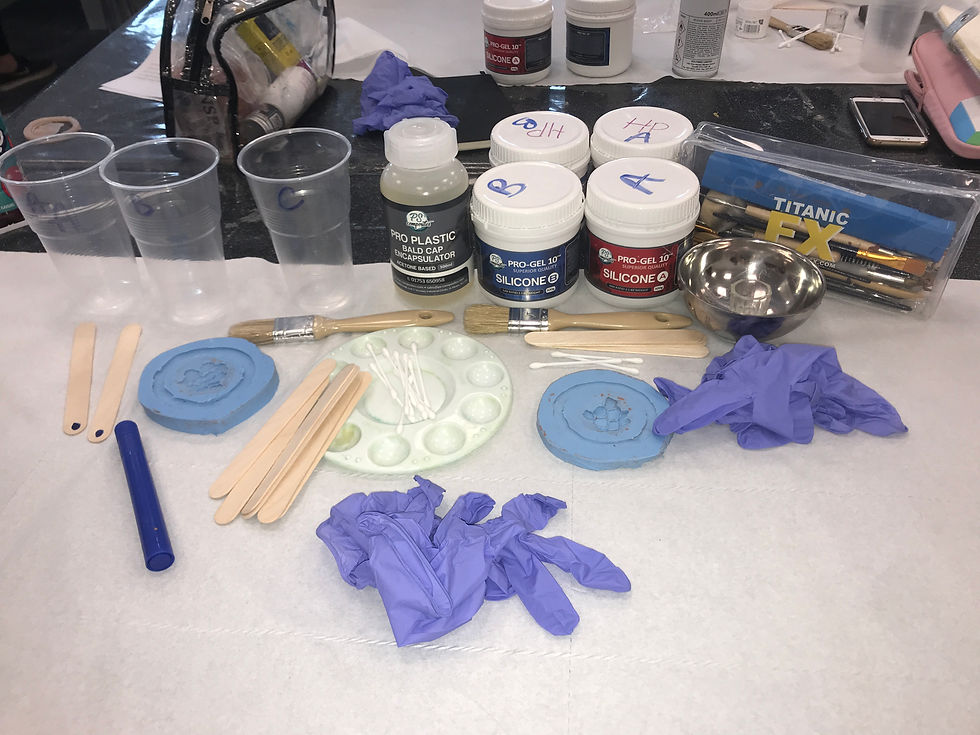
Materials used...
-
BJB F-105 Urethane
-
BJB SC-22 Softener
-
BJB 6832 Flesh pigment
-
BJB SC-24 Accelerator
-
BJB SC-30 Vanilla scent
-
Flocking
-
Baldiez encapsulated plastic
Read up on the quick step by steps to know how to create this.
Make Up Artist. (Dec/Jan) Make Up Artist. Key Publishing Group, Issue 129, P 110,111.
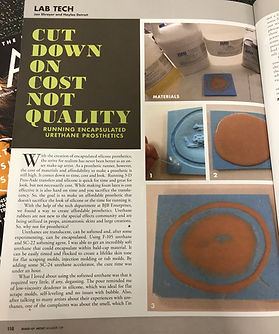
The products you need...
Cap plastic

There are many different brands of cap plastic including...
-
PS Composites
-
Neill’s Materials
-
Mouldlife
-
Kryolan
However, the PS Composites is the one I have in my kit.
-
Extraction fans
-
Air bench
-
Acetone vs IPA Base - Acetone dissolves acetone base/ IPA dissolves IPA base
Health and Safety
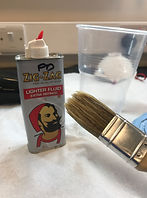
Top tip: Leave your brush in lighter fluid to clean and get rid of cap plastic.
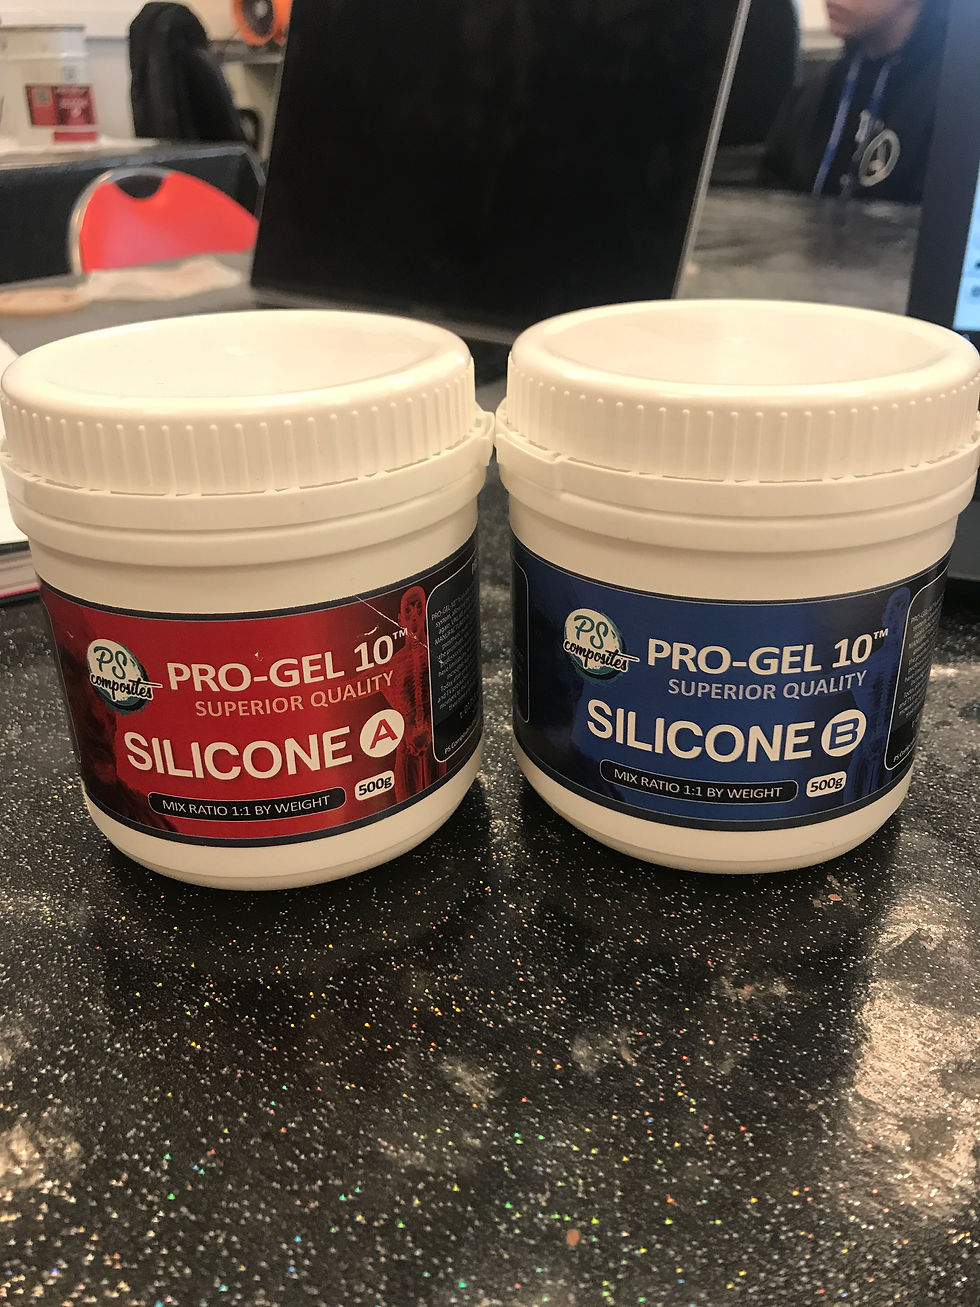
Silicone
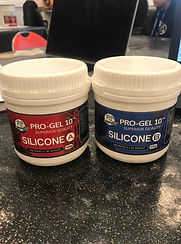
Always read manufacturer's instructions: Always check the ratio before measuring and mixing
The ratio to this Silicone is 1:1
Health and Safety
-
Does not come out of fabric and clothing
-
Must wear PPE equipment when using
-
Setting time approx. 45 minutes depending on room temperature
-
WT - 10-15 minutes
-
DM - 30-45 minutes
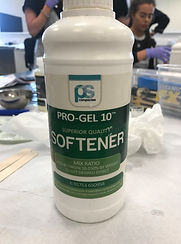
Softener
Pro-Gel 10 Softener is designed to be mixed with the two-part Pro-Gel 10 system at a ratio of anywhere from 30-120%, you can soften the silicone to give it the feel of human skin for ultra-realistic feeling prosthetics.
The percentage around the cheek/mouth would be between 100-120% due to there being a lot of movement in that area. However, the percentage around the nose would be between 0-30% as it is firm so you would need little to nothing.
Top tip: Feel your own face to determine how much softener you need
What is Softener also known as?
-
Deadener
-
Part C
CALCULATION:
100% of C = 100% of total of A+B
There are many silicone calculators you can access online
Dickey, L. (2019) Encapsulated silicone appliances. Available at: https://docs.google.com/presentation/d/1wK1snrtAF8IVYK9SfzCZLQxKAPFRAeEA9xgbL94wzm4/edit#slide=id.g5287c0b5cc_2_21 (Accessed: 14/03/19)

IMG_6768
IMG_6769
IMG_6772
IMG_6768
1/4
Process of Cap Plastic
The ratio of cap plastic to acetone is 1:3 allowing it to thinnen.
-
Mould release using macwax.
-
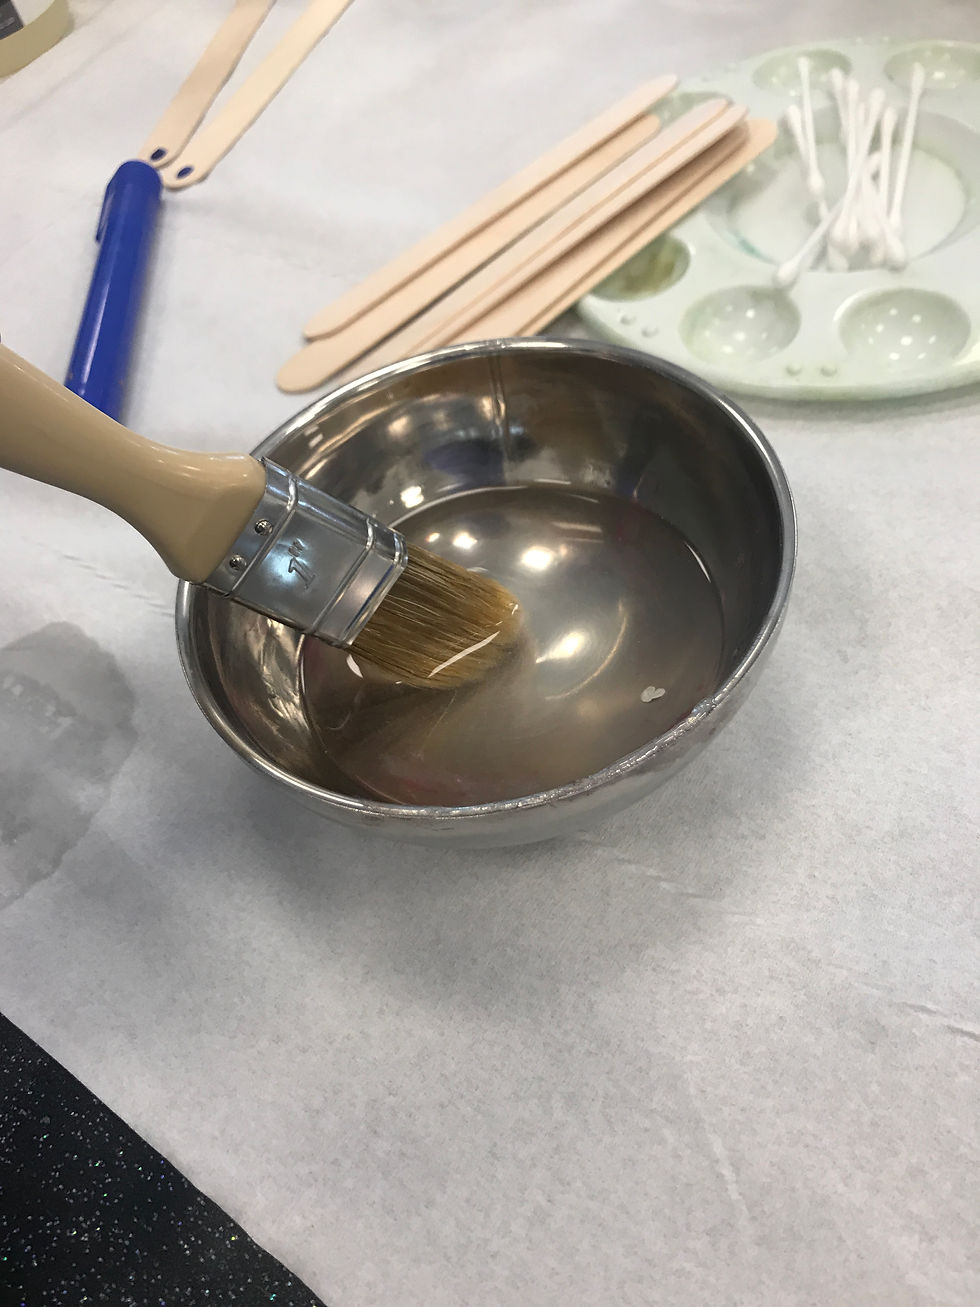
Measure out one little cup of cap plastic and pour into the bowl.
-
Measure out two little cups of acetone and pour into the bowl with the cap plastic.
-
Mix them both together.
-
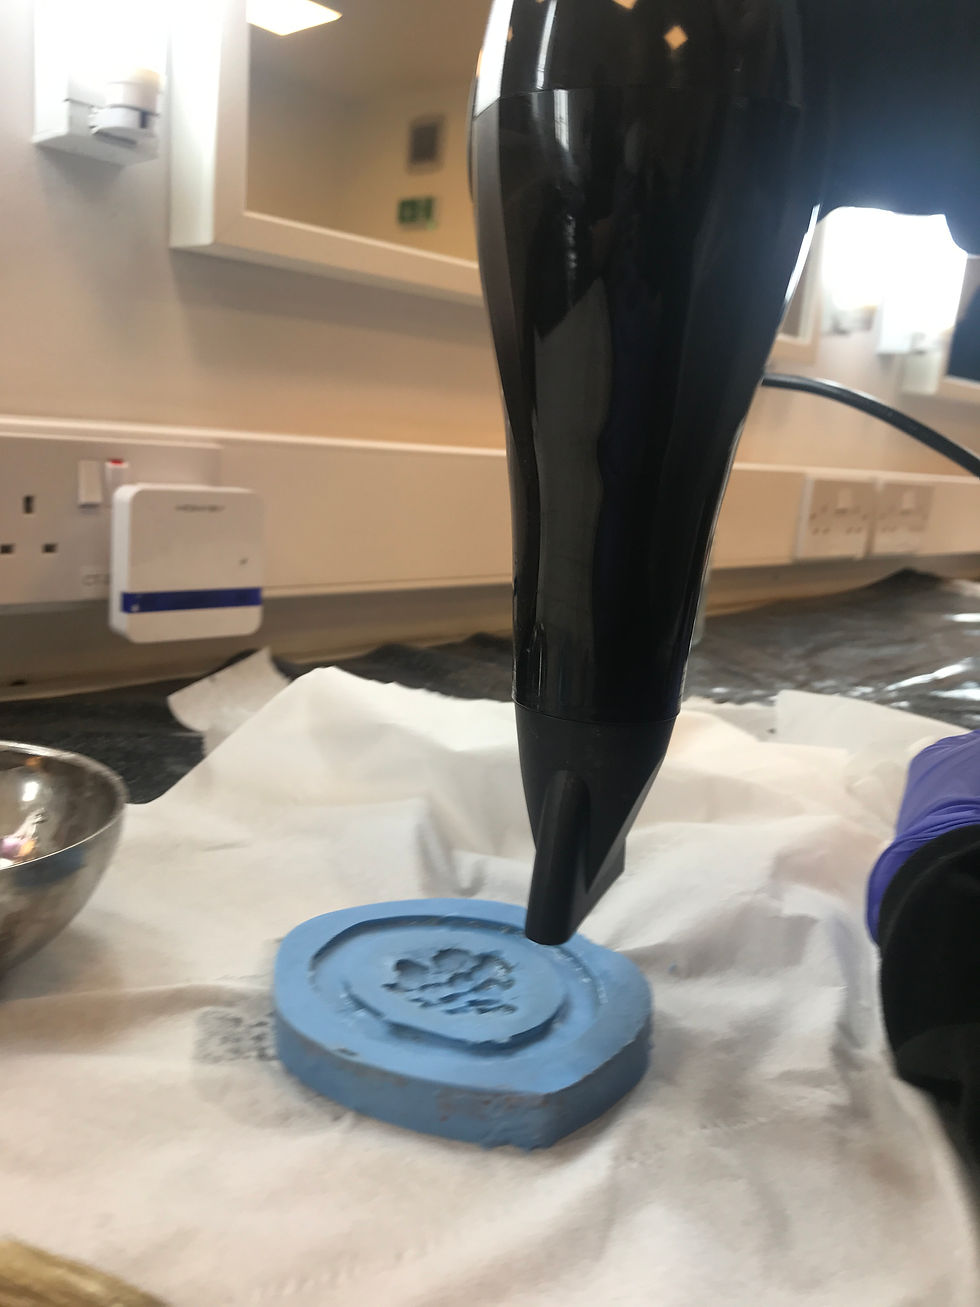
Using your brush, apply the cap plastic to the mould and brush it over in one direction with big brush strokes. If it pools (too thick) smooth it out with your brush.
-
Use the cool setting on a hairdryer and hold over the mould until it is dry and until there is no shine.
-
Repeat the last two steps 4-5 times.
-
To ensure you have added enough layers, using a sharp tool, lift up an edge and see if there are any little holes. If there isn't your cap plastic is ready, if there is add another layer as it is too thin.
IMG_6766
IMG_6763

IMG_6787
IMG_6766
1/9
Process of silicone
Top tip: Wipe around the lids of the silicone tubs so they don't stick.
-
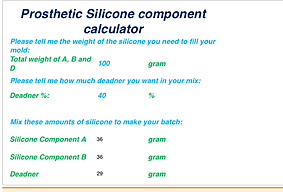
My mould is 100g therefore I needed 50g of silicone.
-
To work out what you need, use the silicone calculator.
-
Label the cups A,B&C and make sure the scales are on 0g.
-
Measure out A in one cup, B in the other and C in the last cup.
-
Add flocking into each cup and mix it in, this allows you to see how much excess is left in the plastic cup.
-
Mix A&B into C. It is best to mix them both into C so you can equally decant A&B.
-
Once mixed, add a drop of pigment and mix together. Using a wooden spatula with a black dot at the bottom of it, test the translucency of the silicone. Make sure you can still faintly see the black dot.
-
From a height, so there are no air bubbles, pour the mixture into the mould and make sure it covers the sculpt and flashing.
-
Take a spatula and scrape over the top of the mould to remove the excess silicone.
-
Make sure there is no silicone between the sculpt and flashing, otherwise you won't be able to dissolve it. To ensure this doesn't happen, scrape over the mould again or get a cotton bud and wipe away the silicone.
-
Leave to dry.
http://www.makeup-fx.com/siliconemaths.htm
Because I am choosing to apply this onto my hand, I chose put in 40% softener. These are my calculations for my mould.
Reflection
I learnt from the session how to work out the amount of softener needed when running an encapsulated silicone piece. As well as that, I discovered that the softener can be referred to as Part C and Deadener when in industry.
I found the first step of applying the cap plastic very straight forward. However, when lifting an edge up to see whether I had put enough cap plastic on, I noticed holes. This meant I had to apply another layer until the holes had disappeared. At first, when hearing the equation for the silicone I was slightly confused, but as we went on and started working out examples I managed to pick it up. I found the silicone calculator very helpful as it told me exactly what I needed of each part. I successfully poured it from a height into my mould. Although, I did have trouble scraping over the top with my spatula and had to do it a few times. This was because there was silicone on the part between the sculpt and flashing which is evident above in my photos. Next time, I will add more pigment to my silicone as the colour looked very translucent even though I added quite a lot of red and blue. Also to overcome this next time, I can also as Laura's advice on what went wrong and how I can improve it.
 |  |  |
|---|---|---|
 |  |  |
 |  |  |
 |  |  |
 |  |  |
 |
Process of appliance
-
Apply 3 more layers of cap plastic over the top of your mould just like the previous time. Lift up an edge and check to see it the cap plastic is thick enough.
-
Once dry, lift up an edge and start to peel the cap plastic back. Whilst doing this, powder underneath making it easy for the cap plastic to release itself from the mould.
-
If the silicone does not stick to the cap plastic whilst you're peeling it back, bend the mould a little bit, so the silicone pops out, and peel it back with the cap plastic.
-
Once you have removed the piece and are ready for application, apply by adding prosaide onto piece all over the back of the silicone and cap plastic up to the flashing. Wait until the pros-aide no longer looks white before sticking it down.
-
When applying the piece, make sure you stretch it out to avoid the pros-aide sticking the piece together. Place onto the skin, and using your finger, flatern the cap plastic down so that there are no foulds or bubbles. Using a cotton bud, stick down any edges that aren't stuck.
-
When you are happy with how you have positioned it, use acetone to remove the flashing and blend the cap plastic into the skin.
-
Finish off by colouring the piece.
Problem Solving
What is the problem?
How to solve the problem
-
Edges too this to blend
-
Incorrect positioning of the piece
-
White speckles of glue that are visible
-
Cap plastic edge wrinkles
-
Dissolving too close to the silicone
-
This is caused by cap plastic being too thick or silicone on the encapsulant. To overcome this you need to smooth sculpt gel or bondo over the edge & stippling skin texture on.
-
This is caused by not carefully measuring where the piece should sit. To overcome this you need to hold the piece against the face and outlining the positioning with a white kohl eyeliner pencil or powder.
-
This is caused by applying too much glue and not allowing it to dry tacky and clear. To overcome this you need to remove the excess glue with a cotton bud and using a hairdryer, on a cool setting, allow the glue to go transparent before adhereing.
-
Make sure you stretch the piece outwards slightly to prevent puckering.
-
Dissolve the cap plastic away from the flashing do not dissolve it away completely and do not dissolve it right up to the edge of the silicone as silicone does not blend.
Dickey, L. (2019) Encapsulating, Filling Molds and Applying Silicone Appliances. Available at: https://docs.google.com/presentation/d/1JV5Juty6xgFxh7e9tJdr9LxMtXEi4IJYUrQx3D9vq1o/edit?ts=5c8fa780#slide=id.p (Accessed: 19/03/19)
Reflection
Overall, I believe that the silicone piece I ran went very well. Although there are things I would do differently, there are also things that I feel went successfully. For example, I was happy with the colouring over the top of my scales, I made sure to look at a reference picture when thinking about my colouring. I also think I applied the piece well as there were no bubbles or folds in my cap plastic.
However, when attempting to lift my cap plastic from my mould, the silicone had not stuck to it. Laura mentioned this was due to me leaving the piece to dry overnight, the silicone had lost some of its tackiness making it trickier to stick to the cap plastic. To get it to come up with the cap plastic, I bent my mould backwards until my silicone popped out, and pinched them together whilst peeling the rest of it back. Another thing that I noticed was when I had removed my piece from my mould, it had some holes in the cap plastic. Although I can colour over the holes, next time I need to add a few more layers to ensure it doesn't happen again. I found it quite easy to colour, but there was a few places where it didn't blend how I wanted it to. So, next time I do this I will make sure that all the edges are completely blended so the colour doesn't stick to them and show them up.
Smart target
Each week I will apply a encapsulated silicone piece so that I become more confident in colouring them and making them look realistic. I will do this by attending workshop so that by the end of the year I know how to apply them professionally.
bottom of page