
Bondo
What is Bondo?
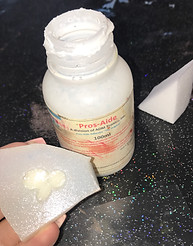
It is made from Pros-aide Cream or thickened with Cabosil (fumed silica/fine particles can cause respiratory problems) or in a mixer on a slow setting for several hours.
Advantages
Disadvantages
-
Fast and easy to apply
-
Translucent so can colour realistically - versatile can also add flocking and pigment
-
Self-adhesive appliance - quicker application
-
Edges can be dissolved
-
Easy to colour
-
Edges do not lift - longwearing
-
Flexible and moves with skin
-
Work in and around water
-
Quick to run pieces
-
Not well suited to cover curved areas and contours such as, nose - can’t run curved areas in flat mould.
-
Difficult to reposition
-
Works better for thin appliances that are less than 1cm in thickness
-
Thick appliances take too long to dry
Also known as...
-
Bondo
-
Pros-aide transfers
-
PTM (Prosthetic Transfer Material)
-
3D Transfers
-
TPA (Thickened Pros-aide)
Dickey, L. (2019) Bondo. Available at: https://docs.google.com/presentation/d/1CZxlRwM2LVyHtf0CHeHzWfC85RAmUN0gv01Z_Sr711Y/edit#slide=id.g50125aaea2_0_1 (Accessed: 11/03/19)
Step by step process to applying a Bondo piece
-
You need release film. To check which side is coated, grab a marker pen and draw on either side. The side that is coated will bead.
-
Place the bondo mould on the coated side and slowly peel away. If it doesn't peel away easily, stipple pros-aide on the bondo mould and try again.
-
Once transferred onto the release film, use IPA to blend away the edges.
-
Then stipple a small amount of pros-aide onto over the bondo piece and release film.
-
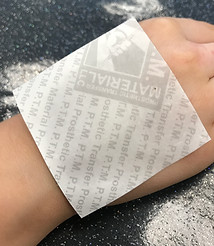
After that, cut a piece of PTM paper that will cover the size of the bondo transfer. Position the bondo film face down onto the PTM paper and press firmly together.
-
Carefully peel away the release film leaving the bondo on the PTM paper.
-
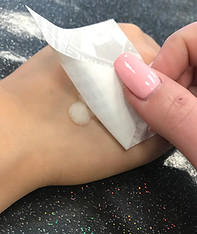
Ensure the models hand is clean and firmly press the piece down onto the skin.
-
Using a damp sponge, apply to the back of the transfer to ensure it will stick.
-
Carefully peel away the PTM.
-
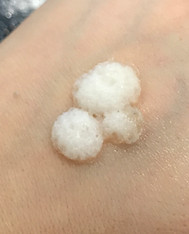
Smooth any rough edges with IPA allowing it to look realistic.
-
Colour over the bondo using skin illustrator.
Reflection
Over all, I found it quite easy to apply the bondo piece. I also think it is a very good way to store your transfers if you're on set and need a run of them. I found bondo easy to blend allowing it to look realistic.
The only thing I struggled with was trying to remove the bondo from the mould onto the release paper. Due to this not being my bondo piece, Laura mentioned that the group before might not of mould released before adding the bondo. I had to get Laura to help me release the bondo by peeling away an edge and peeling it back.
Tips and hints by industry
-
Always clean the skin first before applying to degrease.
-
If you are having problems with the Pro Bondo drying, try filling them in layers or invest in a dehumidifier.
-
If you find the Pro Bondo looks unnaturally shiny, try the HiDef Matting Spray.
-
If your Pro Bondo pieces are reluctant to come out of their mould, try putting a small touch of Pros Aide just on one end. This then coaxes the pieces out.
-
If the Pro Bondo piece doesn't feel as tacky as it should, try washing the back in IPA which will reactivate the adhesive agent.
-
Another great way to ensure the bondo stays put all day long is to utilise Pros-Aide Cream, apply a small layer to both skin and the bondo, hair dryer dry, then apply.
The Makeup Armoury. (2017) A handy guide to pro bondo. Available at: https://www.themakeuparmoury.com/blogs/news/a-handy-guide-to-pro-bondo (Accessed: 19/03/19)
Step by step to filling my mould
-
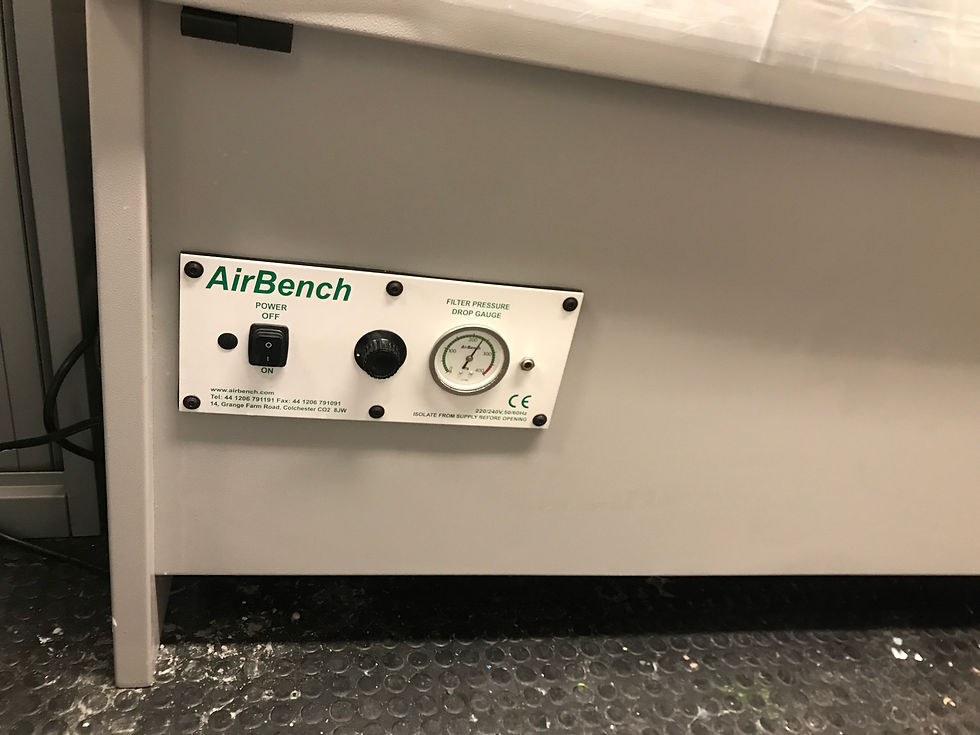
In a well ventilated place (I used an AirBench) spray the Macwax over the mould, this will act as a mould release. Just to be on the safe side, apply vaseline to the inside of the mould as well.
-
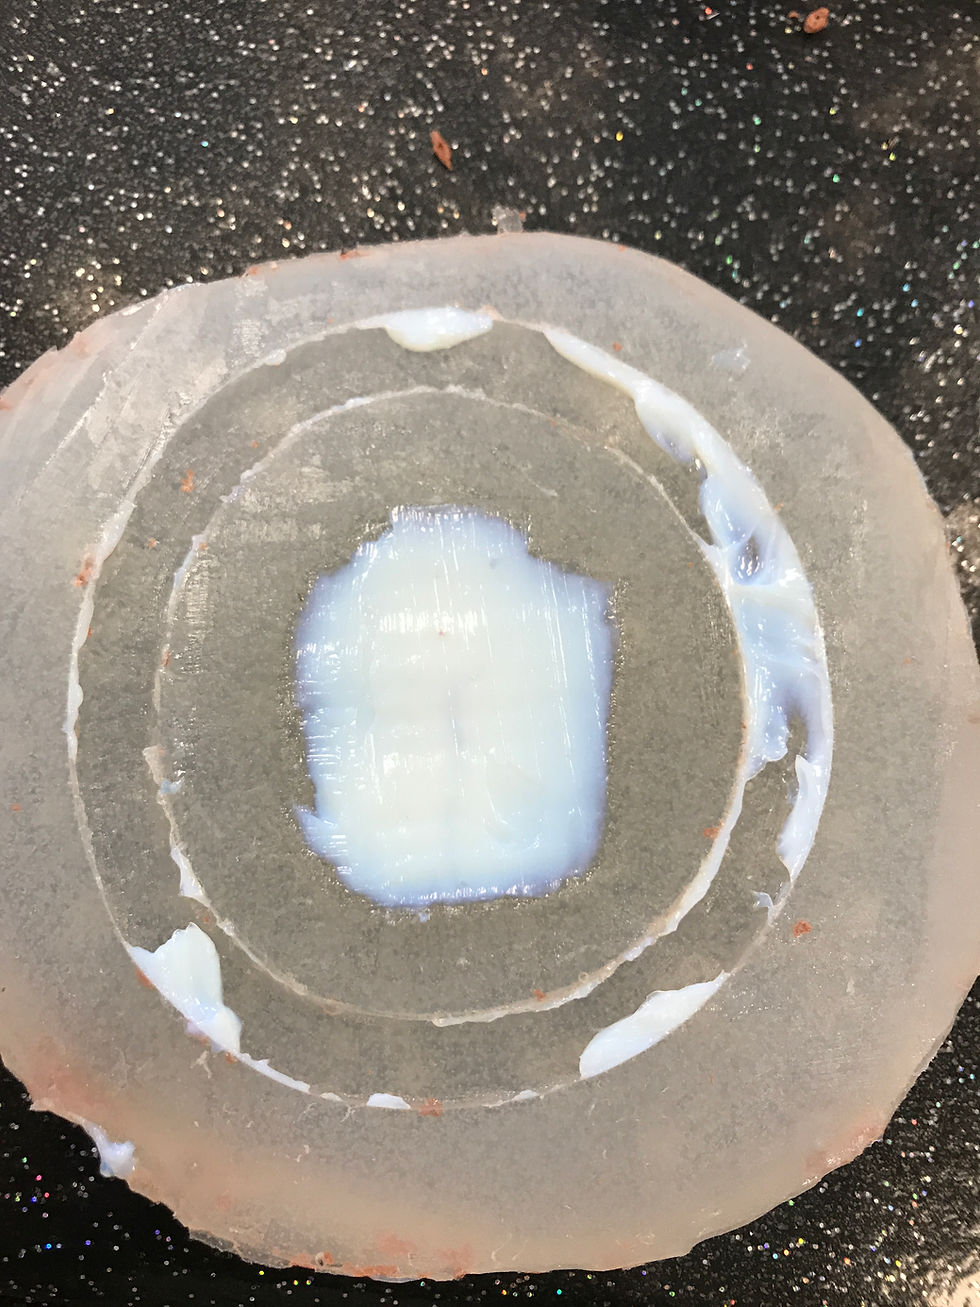
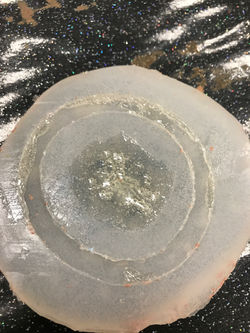
Decant the bondo over the top of your mould and spread over the top of the sculpt.
-
Using a spatula, smooth over the surface of the bondo until flat- any excess will sit in the flashing.
-
Place the bondo in the dehydrator (35 degrees).


Reflection
This process was very simple but tricky to get right. As you can see from my images, it took me a few attempts to get the bondo flat and level over my sculpt. I found this tricky to do as I wasn't being firm and slow enough when going over the top. I got frustrated as I couldn't get this right, therefore Laura helped me to get this level and told me how to improve on it. When I run another piece, I will make sure to keep Laura's advice in mind so that I can easily apply my bondo.
Smart target
In the next two months, before my exam, I aim to run 3 bondos pieces of each mould I choose to do. This will ensure I am prepared in case anything goes wrong on the day and I need another one. It is also a good way to store my bondo pieces, therefore I will create 2 a week.
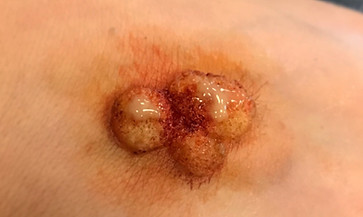
Applying my Bondo piece
Reflection
 |
|---|
 |
 |
 |
 |
 |
-
Make sure the skin is clean where applying.
-
Apply pros-aide onto the bondo and on to the skin to ensure the bondo sticks.
-
Position the mould onto the skin and firmly press down.
-
Slowly start the lift the mould up leaving the bondo on the skin.
-
Using IPA, remove any excess bondo around the wound and powder.
-
Colour the wound.